 |
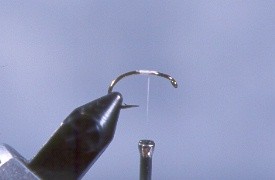
1)
Use a strong hook, you're going to exerting a lot of tension to
compress the yarn. Start your thread in the center of the shank.
|
 |
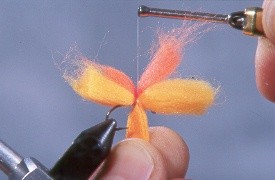
2)
Take a section of Glo-bug yarn and a smaller contrasting color
section and tie them to the top of the shank with three very tight
wraps while compressing the yarn at the tie in point as much as
possible. Each wrap must go directly on top of the previous wrap.
You need a pinpoint tie in. |
 |
3)
Although I usually skip this step on my fishing flies. Lots of
people have asked me how to keep the bottom of the fly round so it
does not make a dome shape when fishing. While you're maintaining
maximum tension on the previous wraps fold a section of yarn over
the thread (downward), pinch together, and bring it up directly
underneath the tie in spot for the top yarn.
|
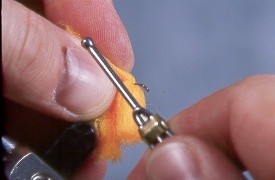 |
4)
As you come around the backside of the material with the wrap for
the bottom yarn, bring your thread into the shank and place a wrap
as tight as possible against the materials. Half hitch, whip finish
and cut your thread. |
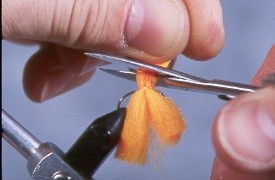 |
5)
Pulling up on the top material, cut the yarn with a single arching
motion. Again, use very sharp, strong scissors. The arching cut will
keep all the fiber lengths the same. If you cut straight across the
fibers from the sides of the fly are slightly longer. |
 |
6)
Do the same for the bottom yarn, slight arching cut under tension.
|
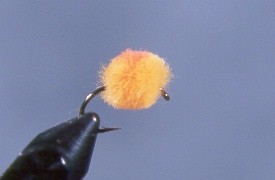 |
7)
The finished Glo-bug. When done properly no additional trimming is
needed. Glo-bug yarn is available in a small diameter of tying
smaller eggs, and in lots of colors. For larger eggs add strands of
material. |
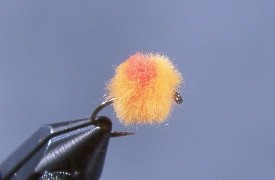 |
8)
The center color spot needs to be on the top of the material (step
2) to come out as a single, round spot. Size is controlled by the
amount of material used. Glo-bugs have a fuzzy looking edge. I feel
that it is this feature that gives them an "edge" under
certain circumstances. When back or side lit the edge has a
translucency not found when using chenille or even McFly Foam. |
